Published guide

Trophy guide

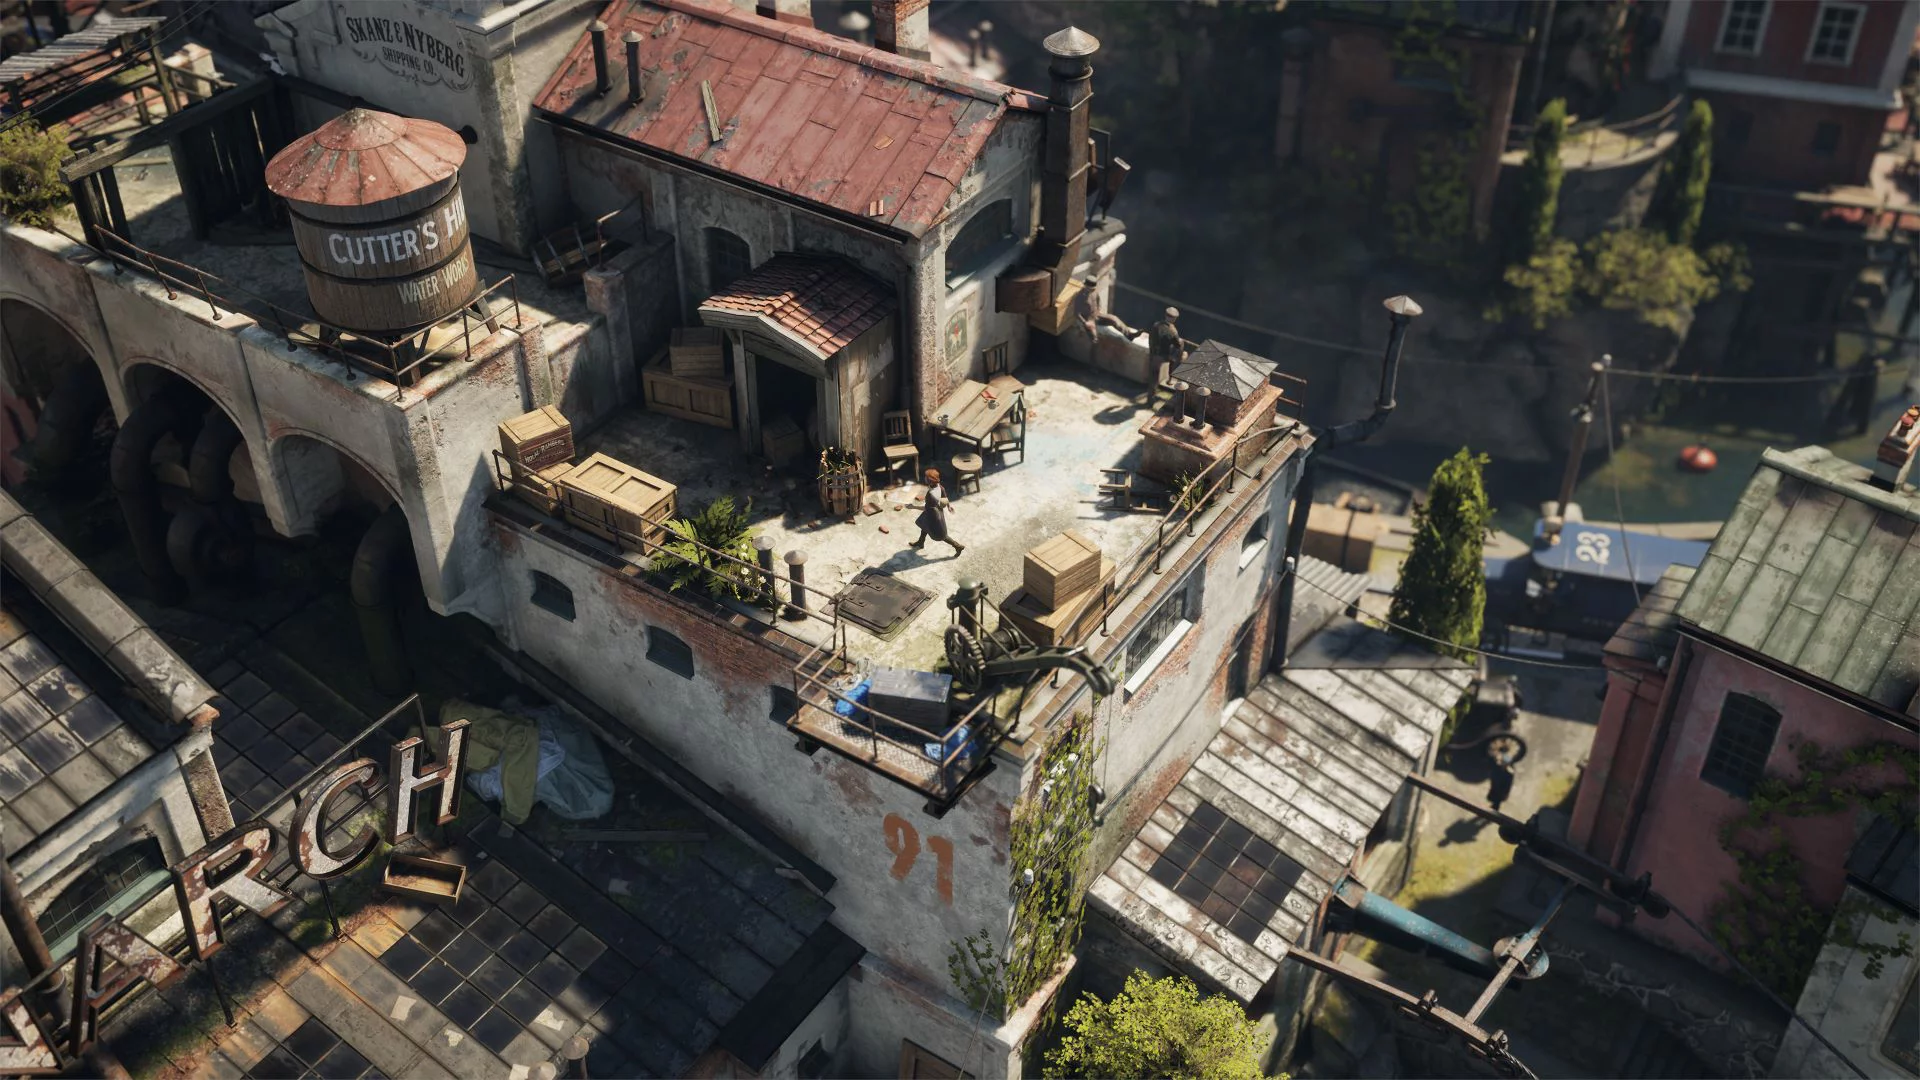
Eriksholm: The Stolen Dream

Collectibles, optional trophies and chapter-by-chapter cleanup.

PlayStation 5 · base game platinum

Trophies
46
Difficulty
2/10
Completion time
10–15 hours
Playthroughs
1

Before you play

Known trophy issues
None known
Missable trophies
None known
Chapter select
Available
Postgame cleanup
Available

Missed collectibles and the optional Chapter 2 trophy can be picked up through Revisit Chapter, even after finishing the story.

Your route to completion

Start with Chapter 1 in Roadmap and follow the story. The eight sections match the game's chapters. Open Notes and collectibles in your current chapter for the pickup route, and read ahead to the next landmark before moving on. Trophies lets you look up an individual requirement or open its detailed solution.

  1. Collect as you go through Chapters 1–8. We need all 68 notes and 33 collectibles. The chapter routes put both sets in travelling order. Most other trophies unlock through the story.
  2. Make one optional stop early in Chapter 2. After the dart tutorial, use the optional trophy solution before leaving the training area.
  3. Finish the story, then fill any gaps. Check your Notes and Collectibles totals separately. Use Revisit Chapter from the game's main menu to return to missing pickups or the Chapter 2 task. One playthrough plus any needed chapter cleanup is enough.

N marks a note and C a collectible. Numbers restart each chapter and follow this guide's route, not the in-game inventory order. The chapter targets show how many of each you need. Each chapter also has an external video for location help.

Chapter 1

Collection target: 17 notes · 6 collectibles.

Spoiler: Notes and collectiblesShow

Follow the pickups below in route order. N means note. C means collectible. Numbers restart each chapter.

Opening rooms and rooftops

  1. N1: Read the paper on the boiler-room table.
  2. C1: Inspect the wall poster in that same room.
  3. N2: After the first rooftop planks, check the surface directly ahead.
  4. C2: At the repair-shop dead end, climb to the raised platform.
  5. N3: Distract the guard with birds. Vault the fence and check behind it.
  6. N4: Beyond the next guard, inspect the barrel by the vaultable gate.

Pub and waterfront

  1. N5: Enter the warehouse through its vent. Inspect the crate.
  2. C3: Search farther inside the same warehouse.
  3. N6: Beyond the bird distraction, check the foot of the stairs.
  4. C4: Before crossing the river planks, explore the adjoining dead end.
  5. N7: Cross the river planks and read the paper on the table below the stairs. Then turn back across the same planks. Climb back onto the wine-storage deck and vault the gate to return to the stairs beside N6.
  6. N8: Take those stairs up to the street. Wait for the first guard to turn away, cross the street and climb the stairs opposite. When the second guard looks away, move left into the dead end and search the small fenced recess.
  7. C5: From N8, take the steps down toward the parked trolley. Inspect the crate to its left. Then retrace your steps to the first street guard and take the open gateway on the right toward Cobbler’s Gate and the story objective.

Crane, drawbridge and exit

  1. N9: Check beneath the mayor's wall picture, across the rooftop planks.
  2. N10: Take the left-side ladder down from the roof.
  3. N11: Return above and search the wooden platform across the roof.
  4. N12: Beyond the drawbridge, check the barrel down to the right.
  5. N13: Near Thorne, inspect the outdoor dining area.
  6. N14: Beyond the next sliding gate, inspect the courtyard table.
  7. N15: Climb from the coffins to the large anchor.
  8. N16: Descend the stairs to the right of that anchor.
  9. C6: At East Gate, explore left past the parked trucks.
  10. N17: Before boarding the train, check the lower wooden walkway.

External video route

External video: Chapter 1 collection route (Game Guides Channel)

Connects to YouTube when loaded.

Chapter 2

Collection target: 13 notes · 6 collectibles. N = note. C = collectible.

Spoiler: Notes and collectiblesShow

Shelter and training area

  1. N1: Check the joined tables outside Alva's shelter.
  2. C1: Continue along the wooden walkway before taking the ladder down.
  3. N2: Finish the blowpipe lesson. Cross the planks toward the mayor's picture.
  4. Optional trophy: Open the optional trophy solution before leaving this area.
  5. C2: Explore around the building beneath the Heartpox banner.
  6. N3: Climb the ladder near Aunt Agda's wall picture.
  7. N4: Cross to the next rooftop and search behind its chimney.

Docks and harbour

  1. C3: Beyond the guards, vault the left fence and inspect the end crate.
  2. C4: Detour across the pipe to the isolated house. Search its lower dock.
  3. N5: Climb that house's stairs and inspect the upper level.
  4. N6: Return across the pipe, then climb toward the higher walkway.
  5. N7: Before dropping from the archway, enter the open side room.
  6. N8: Follow the green conveyor structures toward the cargo area.
  7. C5: Cross from the green building to the adjoining scaffolding.
  8. N9: Return and search behind the raised house.

Courtyard and crane shed

  1. N10: Wait for the conversation to finish. Search the fenced shed.
  2. N11: Inspect the notice attached outside the crane building.
  3. N12: Enter and check the crate downstairs.
  4. C6 · Forsman’s Carbolic Tooth Powder: Upstairs in the crane shed, follow the edge of the machinery to the back-left corner. The pickup is tucked behind the large pipes and cogwheel. External video: the crane-shed pickup (Game Guides Channel, 8:23).
  5. N13: Read the table note beside the door into the mines.

External video route

External video: Chapter 2 collection route (Game Guides Channel)

Connects to YouTube when loaded.
Spoiler: reveal trophy

Stick It To The Man

bronze · optional

Hit the Mayor’s poster with a dart.

Chapter 2, Training Grounds. Finish Hanna's blowpipe tutorial and wait for the boys to leave. Follow the objective across the wooden planks and pipe until you reach the large poster of Mayor Hansen. Hanna comments on him as you approach.

Use L2 buttonL2 to draw the blowpipe, aim at the poster and press R2 buttonR2 to fire. The trophy unlocks when the dart hits it.

If you already passed it, return to the main menu and choose Revisit Chapter → Chapter 2 → Training Grounds. This returns you to Find the Sawmill, just before the poster.

SourcesNeoseeker · All Achievements, Abbz0422 · Trophies.de · PS5 guide, stiller · Selphie1999Gaming · Chapter 2 trophy recovery, Reda Line

Chapter 3

Collection target: 9 notes · 4 collectibles. N = note. C = collectible.

Spoiler: Notes and collectiblesShow

Mine bridges

  1. N1: Beyond the first bridge, search the right-hand walkway between the pipes.
  2. C1: Before climbing the power-switch ladder, explore the walkway's dead end.
  3. N2 · Official Note From Mining Company: Across the second bridge, climb the ladder and read the letter on the table. It belongs in Notes. External video: the mine-note location (Game Guides Channel, 0:51).

Marked tunnels

  1. N3: At the second direction marking, explore the left branch.
  2. N4: At the safe-rest marking, take the stairs to the left.
  3. C2: At the later rest area with an incomplete sign, search right.

Excavator and smugglers

  1. N5: Inside Martha, read the table note.
  2. N6: Leave by the opposite door and search beside the machine.
  3. C3: Explore the walkway branching away from Martha's access ramp.
  4. C4: After the next scene, descend the left stairs and search underneath.
  5. N7: Let the smugglers finish talking, then inspect their table.
  6. N8: Search the dark recess at the far end of the upper walkway.
  7. N9: At the bottom of the elevator, explore the right-hand dead end.

External video route

External video: Chapter 3 collection route (Game Guides Channel)

Connects to YouTube when loaded.

Chapter 4

Collection target: 5 notes · 2 collectibles. N = note. C = collectible.

Spoiler: Notes and collectiblesShow
  1. C1 · Red roof: After climbing the ladder, search the wooden platform off the roof's left side.
  2. N1 · Broken bridge: Inside the next building, inspect the crate beside the stairs.
  3. C2 · Canals: Use Alva to pass the patrols, then drop behind the two talking guards and inspect their crate.
  4. N2 · Canal interior: Distract the guards with Alva so Hanna can cross the fences to the crate beyond them.
  5. N3 · Railway: Clear or distract the guards. Inspect the table on the approach to the train.
  6. N4 · Exit walkway: Break the lamp, wait for the patrol to move, then explore left across the planks.
  7. N5: Check the other crate in that same side area before moving on.

External video route

External video: Chapter 4 collection route (Game Guides Channel)

Connects to YouTube when loaded.

Chapter 5

Collection target: 5 notes · 3 collectibles. N = note. C = collectible.

Spoiler: Notes and collectiblesShow
  1. N1 · Island approach: Search the shadowed corner beside the birds before following the objective.
  2. C1 · Ruins: With Alva, descend toward the two boats and search while the spotlight faces away.
  3. C2 · Beyond the bridge: Explore the small stone archway. Inspect the barrel on its left.
  4. C3 · Wreck: Follow the rocky approach onto the wreck, then climb to the upper deck. Check the crate beside the stairs for another Ad for Farm Work. External video: the wreck collectible (Game Guides Channel, 1:35).
  5. N2 · Photograph: Continue around the wreck across the planks. Search the crate on the narrow outer walkway on the far side. External video: the outer-walkway note (Game Guides Channel, 2:14).
  6. N3 · Part of an Article: Leave the wreck and follow the path toward the building. Search the rocky recess beside the path before entering. External video: the rocky-recess note (Game Guides Channel, 3:04).
  7. N4 · Tunnel approach: Use Alva's distraction to let Hanna cross the metal flooring. Check beside the steps.
  8. N5: Switch to Alva and take the lower walkway to its climbable pipe. Search above before continuing.

External video route

External video: Chapter 5 collection route (Game Guides Channel)

Connects to YouTube when loaded.

Chapter 6

Collection target: 5 notes · 4 collectibles. N = note. C = collectible.

Spoiler: Notes and collectiblesShow

Pond and houses

  1. C1: Swim under the bridge with Sebastian. Climb onto the small deck beside the rowboat.
  2. N1: After his first guard takedown, search beside the gate.
  3. N2: Send Hanna through the vent and inspect the furnace room.
  4. C2: Use Alva to reach the red house's rooftop corner.
  5. N3: Descend to the balcony, watch the occupants through the window, then enter after they leave. Search beside the fireplace.

Square, mansion and maze

  1. C3: Beyond the coordinated guard encounter, search the square's far-right corner.
  2. N4: Use Hanna's vent route into the mansion kitchen. Inspect the central shelving.
  3. N5: Go upstairs, cross through the adjoining room and search the garden table outside.
  4. C4: Inside the maze, inspect the crate just beyond the vaultable gate.

External video route

External video: Chapter 6 collection route (Game Guides Channel)

Connects to YouTube when loaded.

Chapter 7

Collection target: 10 notes · 4 collectibles. N = note. C = collectible.

Spoiler: Notes and collectiblesShow

Guest waterfront

  1. C1: Descend toward the boat and inspect the corner crate.
  2. N1: After the wine conversation, search the bench along the left path.
  3. N2: Continue left through the archway onto the dock.
  4. N3: Up the guest-house steps, inspect the green table to the left.
  5. C2: Search the guest-house bedroom beside the bridge.
  6. N4: Use Alva to cross the bridge. Inspect the far-end crates.
  7. N5: Search the desk inside the other guest house.

Cargo and mansion

  1. N6: Check the crates at the dock's end near the sleeping boatman.
  2. C3: After the guards leave the boatman, go to the rounded end of the jetty. Inspect the advertisement pickup beside the small crane there. The Spy Report note (N6) is at the crate stack by the other crane. External video: jetty collectible (Game Guides Channel, 2:48).
  3. N7: After the cable ride, inspect beside the cart lever.
  4. N8: Search the chest near the power switch.
  5. N9: Read the paper beside the alarm switch before taking the elevator.

Final approach

  1. C4 · An Ad for Wine: On the final approach, climb the right-hand stairs and turn right at the top. Drop onto the lower ledge and search beside the barrels and candles. External video: the final collectible (Game Guides Channel, 7:47).
  2. N10: After crossing the bridge, search immediately to the right. External video: the bridge-side note (Game Guides Channel, 8:13).

External video route

External video: Chapter 7 collection route (Game Guides Channel)

Connects to YouTube when loaded.

Chapter 8

Collection target: 4 notes · 4 collectibles. N = note. C = collectible.

Spoiler: Notes and collectiblesShow
  1. C1 · First cell block: While recovering Hanna's blowpipe, follow the pipe and explore the adjoining roof.
  2. N1: Descend the ladder, wait for the soldiers to leave, then use the vent into the office. Inspect the desk.
  3. N2: Leave that office and check beside the lever upstairs.
  4. C2 · Machinery: After Hanna handles the guard, switch to Sebastian and search beyond the panel near the green light.
  5. N3 · Ammunition route: After Hanna exits the vent, inspect the crate beside the machinery.
  6. C3: Ride the ammunition cart, then explore the lower ledge beside its stopping platform.
  7. N4 · Next cell: Search the corner crate opposite the fan.
  8. C4 · Diversion: Swim through the drain with Sebastian, climb out and inspect the wall across from the ladder.

External video route

External video: Chapter 8 collection route (Game Guides Channel)

Connects to YouTube when loaded.

Cleanup

Master Of The Rosmark Lore

gold · collectible

Find all the notes.

Read all 68 notes. In Roadmap, open each chapter's Notes and collectibles section and follow the entries marked N. Those are the note locations. Entries marked C belong to the separate collectible set.

Chapter routes: 1 · 2 · 3 · 4 · 5 · 6 · 7 · 8.

Check Notes in the in-game inventory and compare your chapter totals with the targets above each route. If anything is missing, return to the main menu and choose Revisit Chapter. Follow that chapter's route to the missing note. The trophy unlocks when you read the last one.

SourcesTrueTrophies · PS5 trophy list · Neoseeker · All Collectibles and Notes, Abbz0422 · Trophies.de · PS5 guide, stiller

Obsessive Collector

gold · collectible

Find all collectibles. And we really do mean all.

Find all 33 collectibles. In Roadmap, open each chapter's Notes and collectibles section and follow the entries marked C. These include posters, postcards and advertisements. Notes count separately.

Chapter routes: 1 · 2 · 3 · 4 · 5 · 6 · 7 · 8.

Check Collectibles in the in-game inventory and compare your chapter totals with the targets above each route. For cleanup, use Revisit Chapter from the main menu and return to the missing pickup. The trophy unlocks when you collect the last one.

SourcesTrueTrophies · PS5 trophy list · Neoseeker · All Collectibles and Notes, Abbz0422 · Trophies.de · PS5 guide, stiller

Sources

Report an issue

Your report and the guide details above will be emailed privately to The Wayside. Add your email only if you would like a reply.

Edit draft

Controller icons

Use [ps:cross], [ps:circle], [ps:square] or [ps:triangle] for PlayStation face buttons. Directions use [ps:up], [ps:down], [ps:left] and [ps:right]. Shoulder and stick buttons use [ps:l1] through [ps:l3] and [ps:r1] through [ps:r3]. Use [ps:options] for Options. Preview formatting to see the icons.

Formatting help

Headings, bold, italics, numbered and nested lists, task lists, quotes, tables, links, code and images are supported. Raw HTML is displayed as text.

![Describe the image](https://example.com/image.jpg)
@[youtube](https://www.youtube.com/watch?v=VIDEO_ID)

:::spoiler Optional encounter
Text, images or video to reveal deliberately.
:::

Add a short label after :::spoiler, such as Camp scene or Ending choices. The panel adds “Spoiler:” automatically. Name the topic without revealing the outcome. Paste an HTTPS image URL to add an image. Readers choose when to load YouTube videos.

Only you can read this draft.

Publish guide