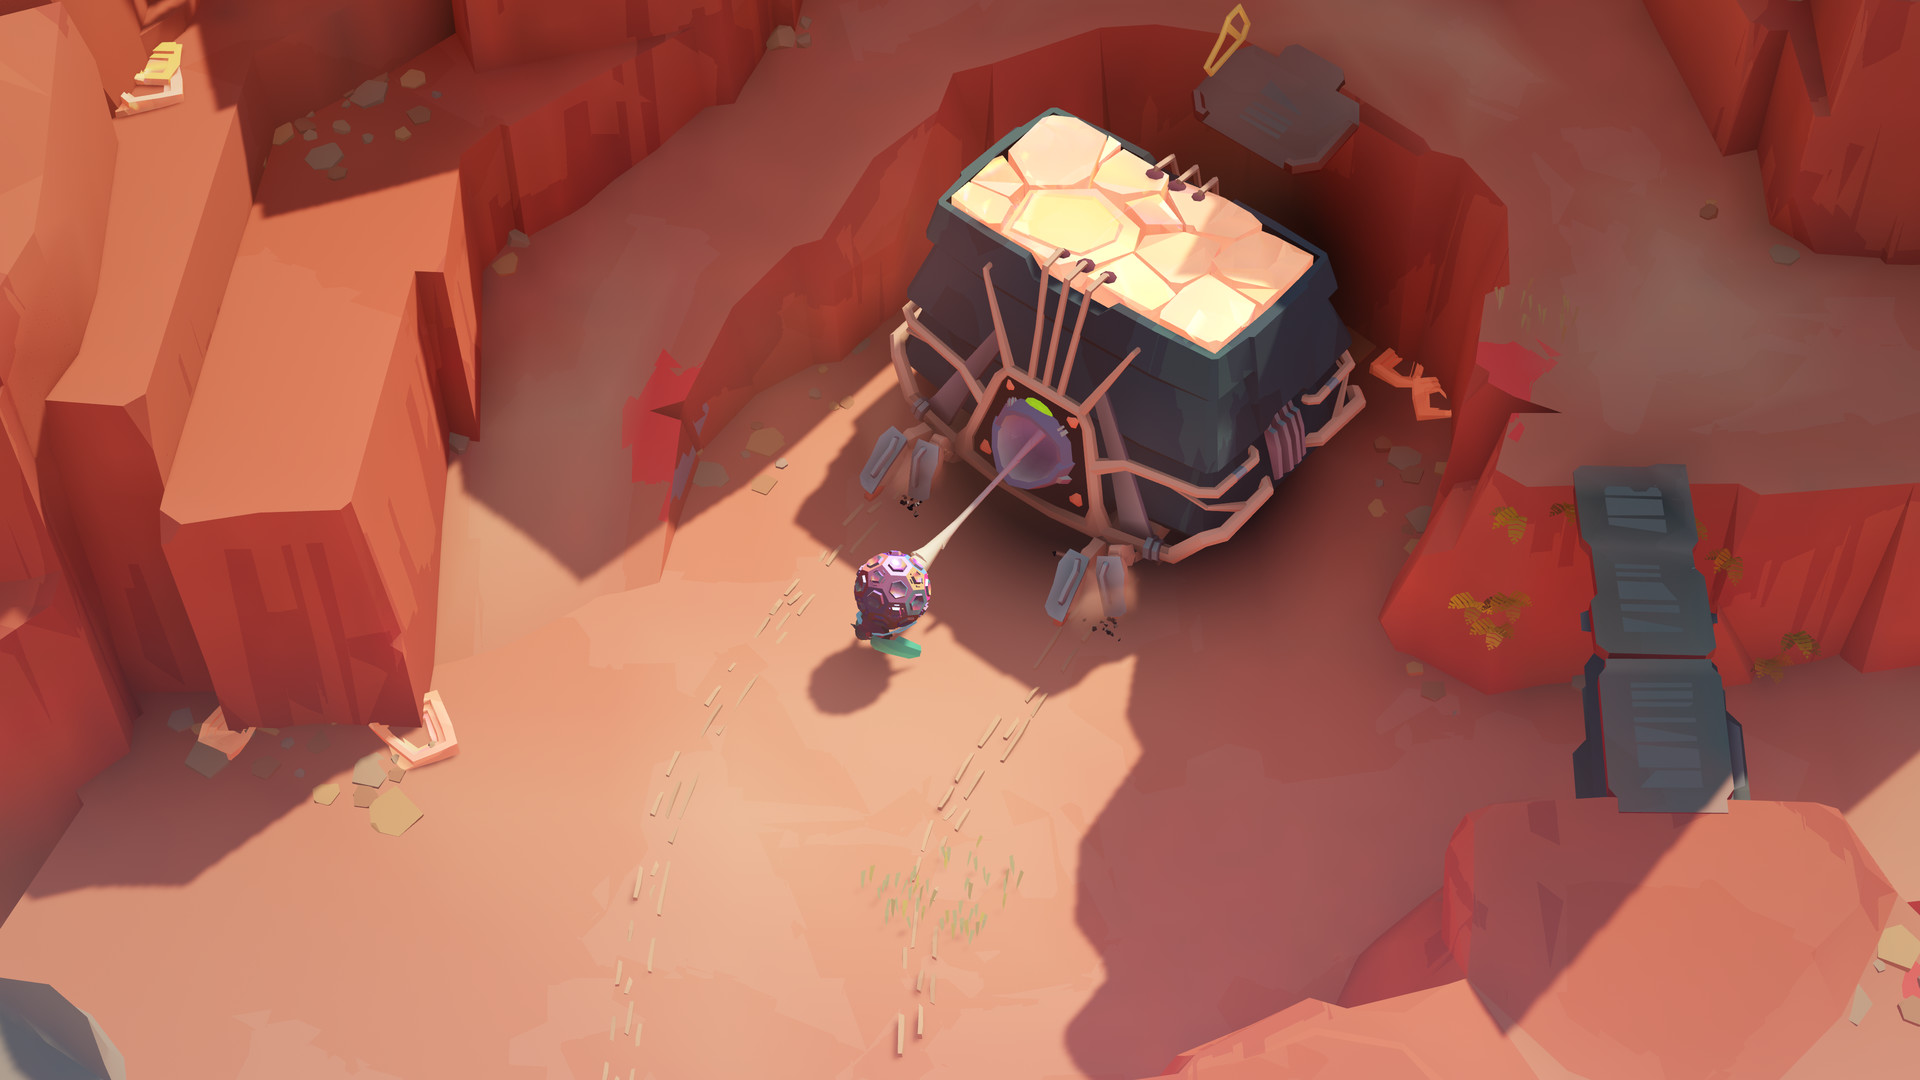
A PS5 platinum route through the nested worlds, with all 11 Moon Ancestors, guardian advice and checkpoint cleanup.
PS5
Trophies
18
Difficulty
2/10 with a guide
Completion time
4–6 hours
Playthroughs
1, plus checkpoint cleanup if needed
Before you play
Known trophy issues
Not checked
Missable trophies
None known
Chapter select
Available
Postgame cleanup
Available
Replay reached checkpoints through Load. The percentage references below identify those checkpoints. Puzzle-solving time varies with how much help you use.
Your route to completion
Start a new game and use Roadmap to follow the six route stages below. These are guide stages, not named chapters in Cocoon. Read the next stage before moving on, then open its linked trophy names for the exact detours. Trophies lets you jump straight to an individual solution when cleaning up.
I recommend collecting the 11 Moon Ancestors as you go. The first three are in the orange and green worlds, the next three are around the phase-column and walking-orb sections, and the remaining five run from the three-orb hub to the final drone puzzle. Each guardian unlocks another orb ability and advances the story trophies.
Finish the story once, then use the pause menu's Load checkpoints for anything missed. Nothing requires a second full run. The collectible solutions give a replay percentage, required orb and starting landmark, so you can also explore freely first and use the guide only for cleanup.
Learn the orbs and explore the first two worlds
Start a new game and follow the path into the orange world. Move with the left stick and use to interact. Holding the button is needed for some actions, including entering an orb from the pool around its pedestal.
Each orb contains a world. A transporter is the circular pad that takes you out of that world. You can carry one orb into another, then carry the outer orb with everything still inside it. When a route needs a particular colour, check both the orb you're carrying and any worlds nested inside it.
Before the first guardian, take the 14% detour for Off the Beaten Path. Defeating that guardian gives the orange orb its hidden-path ability and unlocks Pathfinder.
In the green world, bring the orange orb and a floating drone to the blocked bridge. Collect Mariner's Branch around 24%, then Mesh Network at 27%. The second guardian gives the green orb its phase ability for Fundamental Changes. These are the first three of the 11 Moon Ancestors.
Off the Beaten Path
silver · collectible · optional
Released a Moon Ancestor
Load: 14%. Orange world.
Pull the hanging ball to reach the upper ledge. Start up the path, but look left before entering the main platform with the transporter. A narrow route disappears behind the dark, rounded rock formations.
Follow that branch to its end and press on the glowing symbol beneath the Moon Ancestor. Wait for it to rise and the trophy to unlock. If you have already gone into the guardian area, reload 14% for this short detour.
Automatic story trophy. First guardian, orange world, around 16%.
Find the moving dirt trail in the arena and use to pull up a blue bomb. Carry it beneath the Wasp and throw it upwards with . Between bombs, move sideways out of its swoops. If the small insects cling to you, keep moving and tap repeatedly to shake them off.
In the final phase, stay in a gap between the rotating crystal lines while waiting for the next bomb. Hitting the central cocoon ends the fight. Leave through the transporter to receive orange's hidden-path ability and the trophy. If hit, re-enter the orb and retry the encounter.
Load: 24%. Bring the orange orb and a drone into the green world.
This checkpoint begins before the drone is released. Walk onto the raised path behind its yellow container and read the five symbols on the pillars from left to right. Walk over the matching floor symbols in that order, then interact with the released yellow sphere to get the drone.
Take the green orb back through the transporter. Outside, place green on the central pedestal, pick up orange and enter green's pool. The drone follows. Let it remove the stone barrier near the transporter.
Carry orange along the newly accessible invisible bridge over the water. Before reaching the main platform at the far end, turn left behind the rock pillar. Keep following the hidden branch to the ancestor and activate its floor symbol with . If you reached 25% and the drone-trap puzzle, you passed the branch. Reload 24% and follow the bridge again.
Beyond the large door opened with your drone, find the floor switch beside a pillar supporting an invisible bridge. Press on the switch until the bridge's onward segment points down the screen, away from the story route.
With orange in hand, enter the invisible walkway on the right. Follow its southern branch around to the secluded platform, then activate the ancestor's glowing symbol. If the path leads north towards the next walls, return to the switch and rotate it again. After the release, set the bridge north to continue the story.
Automatic story trophy. Second guardian, green world, around 30%.
Find the red-glowing plant stack and interact to rise with its explosive. Move above the Starfish and press to drop it. For later hits, position yourself beyond the glowing stack so the guardian's charge strikes it and makes the next explosive available.
While airborne, dodge the projectiles and wait for the guardian to settle before dropping the explosive. In the last phase, keep clear of its charges through the dividing walls and look for gaps in the projectile rings.
Defeat it and leave the world through the transporter. Green gains its phase ability and the trophy unlocks. A failed attempt can be retried by entering the orb again.
After the green guardian, use the new phase columns to travel through the outer world. Take the lower branch at 33% for End of the Line before pushing further into the orb puzzles.
Inside the purple world, the orange and green orbs eventually separate. At the 46% section, recover the orange orb and give it walking legs. Take it to the two pressure plates for Skin Deep before sending the walker back to the central wall.
Continue until both walking orbs launch across a gap and make a bridge. Cross, then take the right-hand branch for Different Destinations at 52%. The guardian beyond this section unlocks From There to Here. You should now have six Moon Ancestors.
End of the Line
silver · collectible · optional
Released a Moon Ancestor
Load: 33%. Outer world, carrying green.
The checkpoint is beside a puzzle with two phase walls and a moving block. Your detour is back to the left, using the column you arrived on.
If that arrival column is solid, phase through one of the nearby walls with green to make the column ghostly. Return to it, stand inside and press . Keep using the linked column positions downwards instead of returning to the main puzzle. Two shifts take you towards the lowest landing.
Descend the stairs and follow the lower path to the right. Release the ancestor from its glowing floor symbol. If you end up back at the moving-block puzzle, you left the column route too early. Reload 33% and take the lower branch.
If you load onto the platform with both orbs already socketed, activate it first. In the next area, the orbs fly apart. Go right to retrieve orange. The direct return closes, so carry it down the invisible path.
Put orange into the funnel in the lower area. Walk around through the structure, collect it at the other end and place it in the socket that gives it walking legs.
Lead the walker up the stairs. Squeeze through the narrow stone pillars yourself, then stand on the bridge switch so the walker can cross back to you.
Return to the funnel. Take the nearby stairs down and left into the hollow with two pressure plates. Do this before taking the walker back to the central wall.
Lead it onto one plate and remove the orange orb with . Its empty legs stay on the plate. Stand on the other plate yourself.
The ancestor appears above the hollow. Return up the stairs, follow the opened approach and interact with its glowing symbol. Put orange back on its legs to resume the main route. If the walker has already been sent away, reload 46%.
Load: 52%. Purple world, after the two walking orbs form a bridge.
During the story, launch both walkers across the gap using the switches beside their pads. Once they have made the bridge, cross it. At the 52% checkpoint, this bridge sequence has brought you to the far side.
The orbs fly north. Before following them, turn right and follow the narrow walkway to its end. Activate the floor symbol to release the ancestor, then return to the junction and follow the orbs. If you have reached the guardian at 54%, load 52% to return to this fork.
Automatic story trophy. Third guardian, purple world, around 54%.
Pull up the small plant in the arena. It creates a matching copy opposite you. Press to swap places with that copy, then walk your explosive plant into the larger growths that appear to start the fight and damage the guardian.
Use the swap to escape its spinning approach and the blue-marked platforms it is about to smash. Keep watching the copy's landing position before swapping. Later, red ground slows you down, making the swap more useful than trying to outrun the boss.
Keep reaching the exposed plant growths until the encounter ends. Leave through the transporter to unlock purple's matching-orb ability and this trophy. If hit, enter the world again for another attempt.
The purple orb's new ability lets you move between matching copies. Continue through the outer-world puzzles until the 63% area gives you access to all three coloured orbs. Take the orange orb down its left-hand route for Conduit.
The next world introduces a launch ability. Practise holding , choosing a direction and releasing from a launch tile. You'll use the same movement against the guardian at 71%. Returning from that fight unlocks This Has Potential and gives the white orb its projectile ability. There are no other Moon Ancestors between 63% and 81%.
Conduit
silver · collectible · optional
Released a Moon Ancestor
Load: 63%. Outer world, with all three coloured orbs available.
Take orange and follow the hidden bridge leading down and left from the central area. At the pressure plate, press to turn the nearby pillar until its path faces you. Follow the connected invisible walkway to the end, then use the two launch pads. On the platform with a floor switch, activate the switch to ride down.
At the bottom, walk towards the bottom of the screen and enter the small pipe. Keep carrying orange through the passage. Put it into the socket at the far end to raise the stairs, then climb to the ancestor and activate its symbol.
If you are still at the three-orb hub, you need the lower orange route. If you have continued beyond the pipe area, reload 63% and repeat that branch.
Automatic story trophy. Fourth guardian, white world, around 71%.
On a grey launch tile, hold , aim with the left stick and release to fly. Break the four floating orange containers, then fly into the exposed yellow crystal to wake the Spider.
During the fight, look for a tile glowing yellow. Bait the Spider into stepping on it, then fly through its trapped crystal leg. Repeat for all four legs. Keep landing on clear tiles, and fly over the circular shockwaves after the first leg breaks.
Leave through the transporter after the fight. White gains its projectile ability and the trophy unlocks around the following 73% checkpoint. If the Spider catches you, re-enter white and retry.
At 86%, check the wall crack before shooting the next crystal and taking the launch pad onward. It is easy to pass the detour and need a checkpoint reload. The third Orb Guardian encounter at 90% gives Daybreak. With the three detours done, only one Moon Ancestor remains.
Cryptographer
silver · collectible · optional
Released a Moon Ancestor
Load: 81%. Green world, after regaining green from the Orb Guardian.
Open the dome with white, put green on its central pedestal and place white in the right-hand turret so it fires left into green. Enter green and use the platform activated by those shots to cross the water.
At the next transporter, activate it and exit. Move white to the left-hand turret so it fires right into green. Re-enter green and ride the next moving platform to the third transporter.
Exit through that third pad. This time pick up white and carry it into green. Behind the pad is a narrow gap between rocks. Follow it to the white firing circle.
Hold , aim and release to shoot the four crystals in this order: up, down, left, right. The nearby black stacks indicate the sequence with one, two, three and four pieces. The completed puzzle opens the ancestor's path. Activate its floor symbol to release it.
If the sequence resets, start again from up. For the story afterwards, return white to the turret north of green so shots travel down through the third transporter.
Load: 84%. Orange world, with white and green available outside.
At the dome, the returned orbs open the transporter. Place orange on the central pedestal. Carry white inside orange, stand on the firing circle to the right and shoot the crystal with . Ride the activated platform to the far side and activate its transporter.
Exit here with white, leave it in an outside socket and take green back into orange. Behind your arrival pad are two sets of phase columns. Stand inside a ghostly column and use while holding green to climb, then repeat for the next set.
At the top, activate the ancestor's floor symbol. Return down the same columns afterwards. If you cannot phase a column, check that you brought green, not white. The story route below the transporter eventually needs both orbs.
Load: 86%. Orange world, after the platform ride with green and white.
Carry both orbs up to the large bone-like structure. Put them in its two sockets to open the doorway. Walk inside and up the ramp. This passage leads into the white world.
Turn left and use the launch pad to reach the lower area. Head north to activate the transporter, then use it to return beside the white orb outside.
Pick up white and put it on the small moving carrier left of the doorway. Use the floor switch down the stairs to send it across the gap.
Go through the large doorway again. Return to the transporter inside the white world and use it. You emerge at white's new position across the gap.
Pick up white. Before shooting the crystal and taking the next launch pad, find the crack in the rocks above and to the right of that crystal. Follow it to the ancestor and activate its symbol.
The transporter returns you to the orb's current location, which is why moving white first matters. If you already launched into the next section, reload 86% for the detour.
Automatic story trophy. Finish the third Orb Guardian encounter at 90%.
The encounters at 79%, 83% and 90% use white's projectile ability. Stand on the firing symbol, hold , aim and release at the crystals. Take too long and you drop back to retry the current encounter.
At 79%, lead the moving targets and avoid the rotating shield. At 83%, targets shift when you fire, so aim into the space they are about to occupy. At 90%, the shields move when you shoot. Aim at a crystal while it is covered so the shield moves out of your shot's path. The final four targets appear one at a time farther away.
When the guardian returns your projectile during the later encounters, tap just before it reaches you to send it back. Keep returning it until the guardian takes the hit. Recovering purple after the third encounter unlocks the trophy.
Continue through the nested worlds to the drone puzzle at 97%. Take the funnel detour for Loophole Maneuvers after getting your drone past the first trap. The solution includes the return transporter you need.
Finish the remaining route and the final orb-nesting puzzle for Cosmic Architect. If you released all 11 Moon Ancestors along the way, All Done follows. There is no separate trophy for the optional secret code after the ending.
Loophole Maneuvers
gold · collectible · optional
Released a Moon Ancestor
Load: 97%. Green world, at the final drone puzzle.
Release the drone first. From the raised path left of its yellow container, read the five pillar symbols in their water reflections from left to right. Cross the matching floor symbols in that order and interact with the released sphere.
Bring the drone back the way you entered, then use green's phase column to reach the upper platform. Activate the transporter at the back left.
Walk north through the drone-eating trap. Let it catch the drone, then carry green onward and put it in the socket beyond the trap.
Return to the trapped drone and reactivate its yellow sphere. Use the transporter behind the trap to warp to green's socket. This brings the drone past the trap safely.
Take green up the stairs. Let the drone remove the barrier. On this larger platform, look behind the raised structure for a partly hidden funnel. Put green into it before continuing up the next phase column.
Return to the same transporter behind the trap, collecting the drone again if it gets caught. Use the pad to arrive at green's new location, then walk up to the ancestor and activate its symbol.
After the release, take the descending path and launch pad back towards the main route. If you continued beyond this funnel, reload 97% and repeat the first trap bypass.
At 98%, bring all four orbs out to the final hub. The statue ahead shows the nesting order. Use the central pedestal to enter each destination world, leave the carried orb in a socket inside and return through the transporter:
Put orange inside white.
Put white, with orange still inside, into purple.
Put purple, containing both, into green.
Place green on the socket in front of the statue to open the way. If it does not open, check the order from outside to inside: green, purple, white, orange.
Continue through the door, climb the spiral stairs and interact at the top. In the area you arrive in, approach the starting location and interact with the symbol on the raised structure. Let the ending play to unlock the trophy. Any missed Moon Ancestors remain available through Load afterwards.
Open the pause menu with and choose Load. Select a previously reached percentage checkpoint. These are the game's replay points, not the stage numbers used in this guide. You can return to a later unlocked checkpoint after a detour, so there is no need to replay the whole story.
Use the locked trophy names to choose the detour you need. At each ancestor, interact with the glowing floor symbol and wait for the release, rather than leaving as soon as you find it.
The checkpoint may place you just before the named area. In particular, activate the starting platform at 46% to reach the section where the two orbs fly apart. Each solution below starts from its listed replay point.
All Done
platinum
Unlock all trophies
Finish the story and release all 11 Moon Ancestors to earn the other 17 trophies. There are no online or difficulty-related requirements.
If the ending is done but this is still locked, compare the 11 named ancestor trophies with the checkpoint table in the Roadmap. Each ancestor has its own trophy, so you can replay only the missing detour.